Event lifecycle
Creating, publishing, archiving and deleting an event.
Creating an event
- Go to Profile → Events.
- Click Create event.
The editor opens on an empty event. Fill in the basics first, and set the timezone before adding shifts.
Editing
Open Profile → Events and click the pencil on an event.
Changes save as you make them; the top bar reads Saved when they are stored. See Working together.
Publishing
A new event starts unpublished. Click Publish in the top bar and confirm. The button is replaced by Share.
You can keep editing after publishing.
Sharing
Click Share in the top bar:
- Copy link — copies the public link
- QR code — opens the QR code dialog below
- Share via… — hands the link to your device's share sheet, where one exists
QR codes
Available on Professional
Open Share → QR code in the top bar, or click QR code at the bottom of any shift panel.
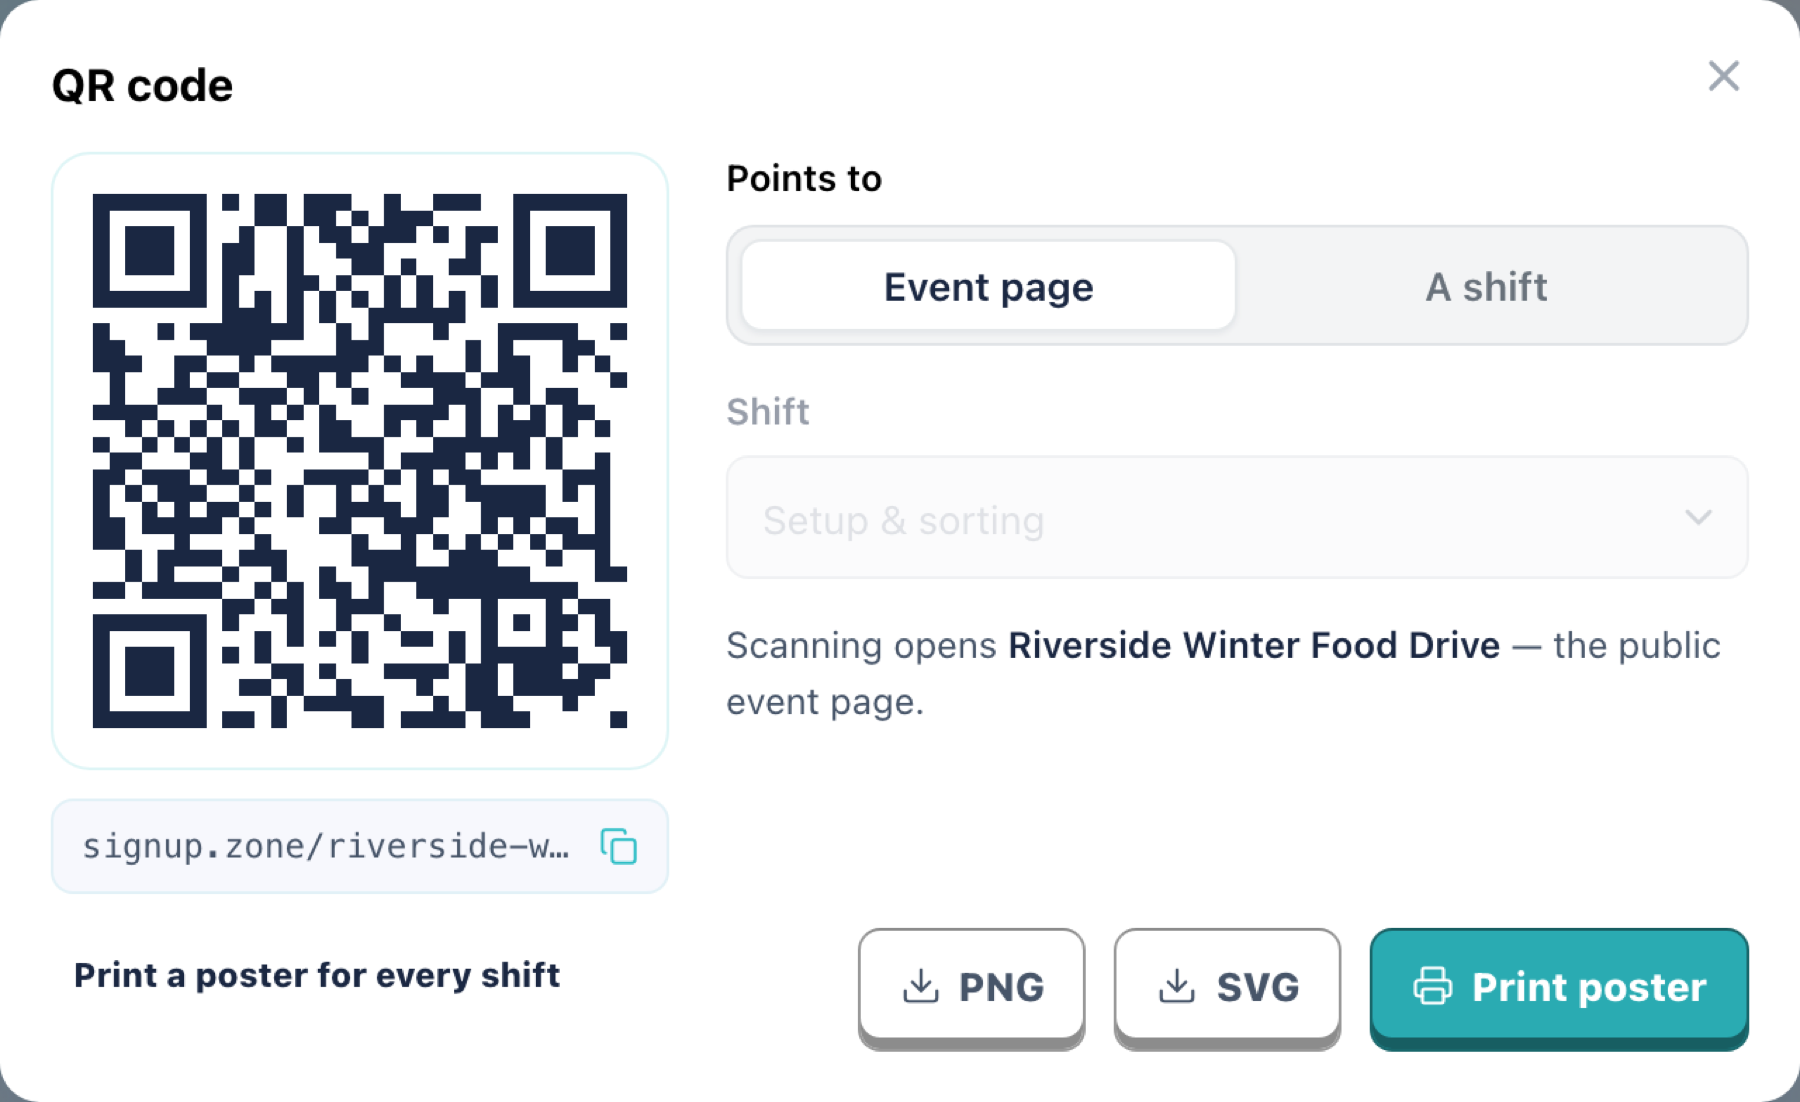
- Under Points to, choose Event page or A shift, then pick the shift.
- If the event has a logo, untick Put the event logo in the centre for a plainer code.
- Click PNG or SVG to download the code on its own, or Print poster for a page with the details on it.
Print poster opens an A4 page in a new tab and starts the print dialog. Choose Save as PDF there to keep a copy. The poster uses the event's theme and title font.
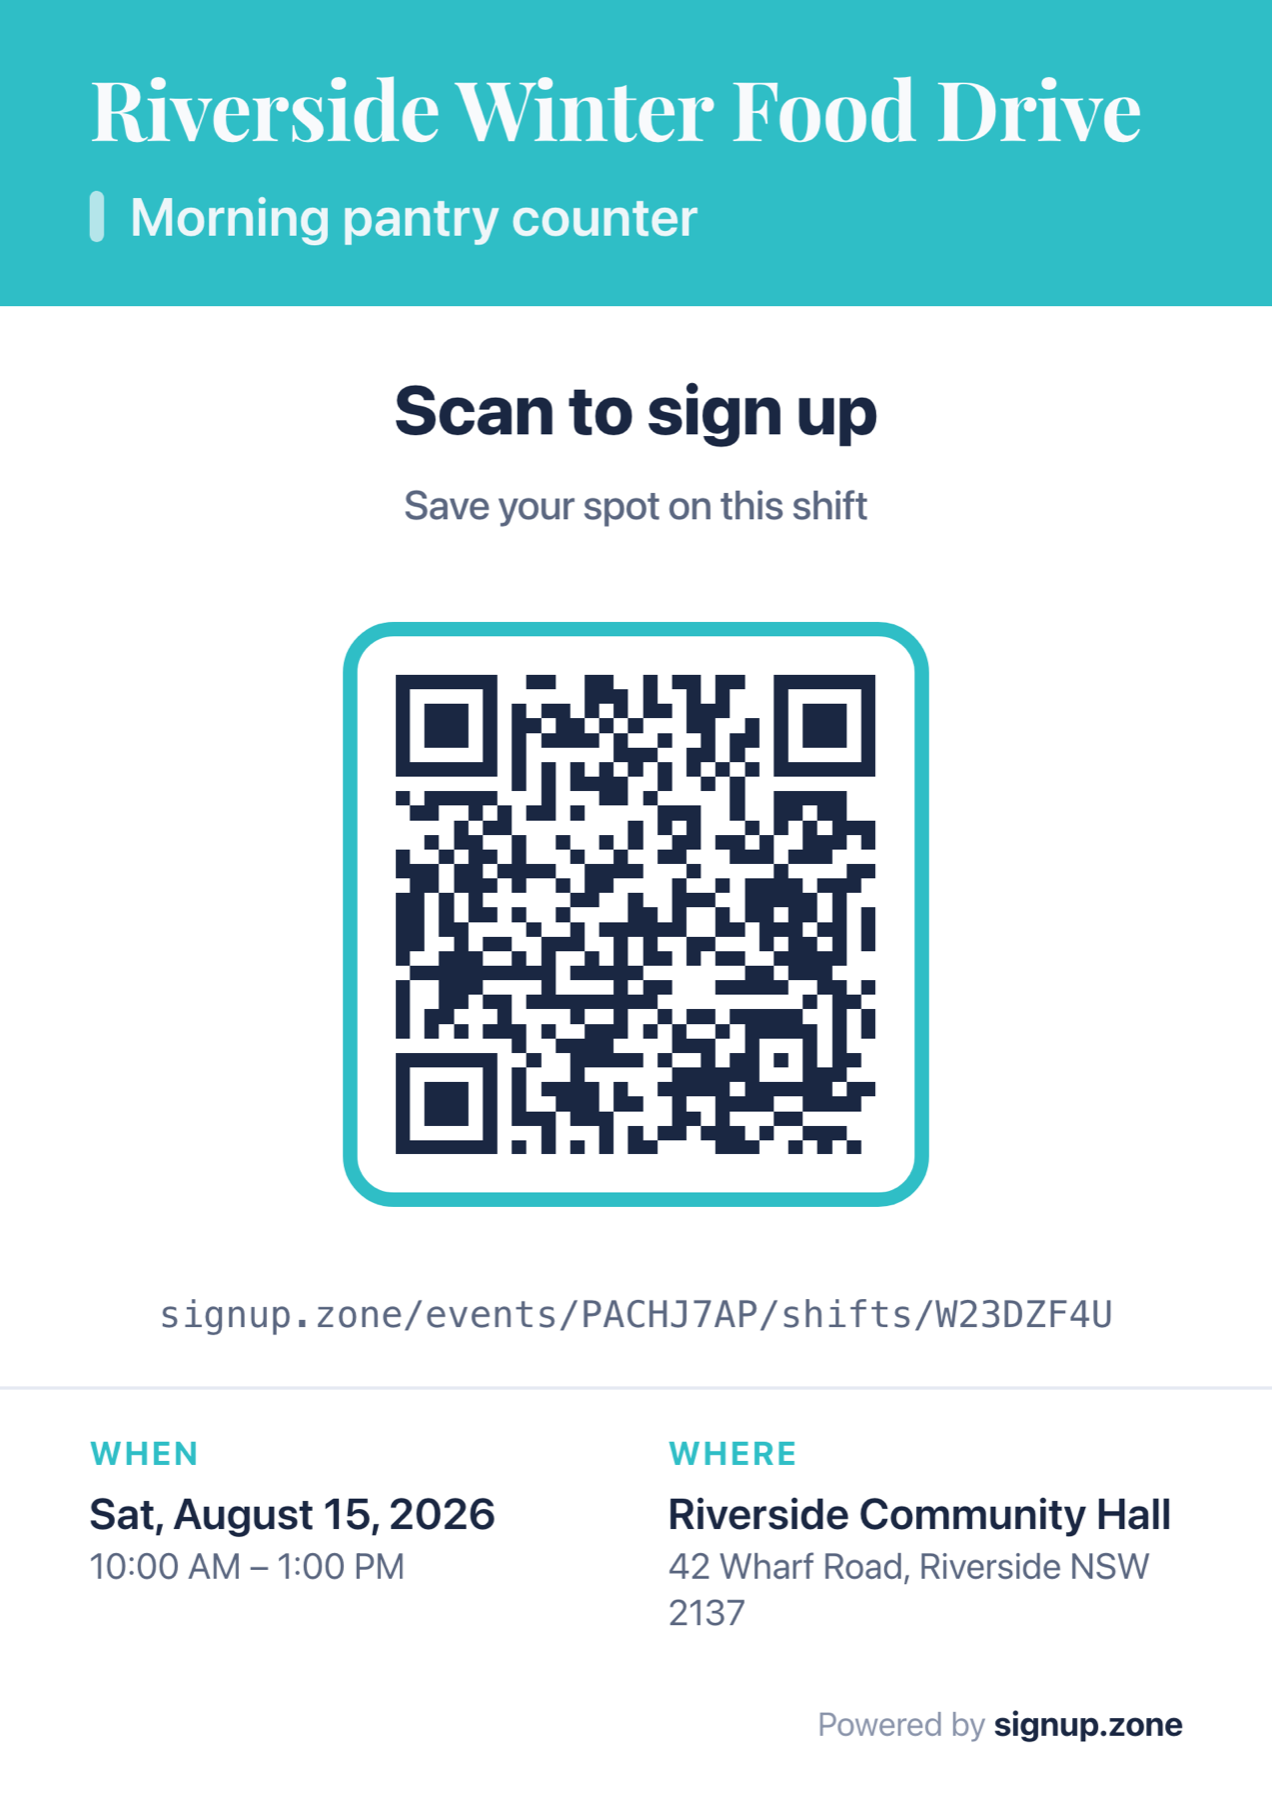
Print a poster for every shift prints one page per shift in a single job.
The code opens the same link as Copy link, so it keeps working after you change the event. Set the custom URL before printing: the address under the code is the one people will type if they cannot scan.
Archiving
Archiving retires a finished event. It stays in your account and remains readable, but is frozen:
- nobody can sign up, cancel, or be added to a shift
- organisers cannot edit it
- it stays in your events list with an Archived badge
Unarchive to reverse this, as long as your active events are still under your plan's limit.
If your subscription ends
Events above your new plan's limit are archived for you. The ones you created most recently stay active, up to the limit; the rest get the Archived badge and are frozen as described above.
Nothing is deleted. Archived events stay in your account with their registrations, and their pages stay readable.
WARNING
An archived event stops taking new signups. If a swept event is still running, archive a different one and unarchive it, or resubscribe to bring them all back.
Signup pages, surveys and overview pages are archived the same way.
Deleting
Click the bin icon on an event in Profile → Events.
DANGER
Deleting removes the event's registrations, survey answers and quota claims. Export what you need from Registrations first, or archive the event instead.
Duplicating
Duplicate an event from the events list. The copy belongs to you and counts against your plan limits, even when you duplicate an event you only co-organise.
Related
- Event basics
- Visibility & access — who can see the event
- Working together